Lets update an old cabinet and make it look new again! Start
by taking a survey of your existing cabinets. Most existing "face frame"
cabinets will have large reveals (gaps between the doors and drawer fronts).
These reveals may as large as 1" to 2" in some cases. A full overlay
door will overlay as much of the cabinet face frame as possible to ensure a
nice updated style for your new cabinets. Using this tutorial we will give you
a simple roadmap to making your outdated cabinetry look as good as new!
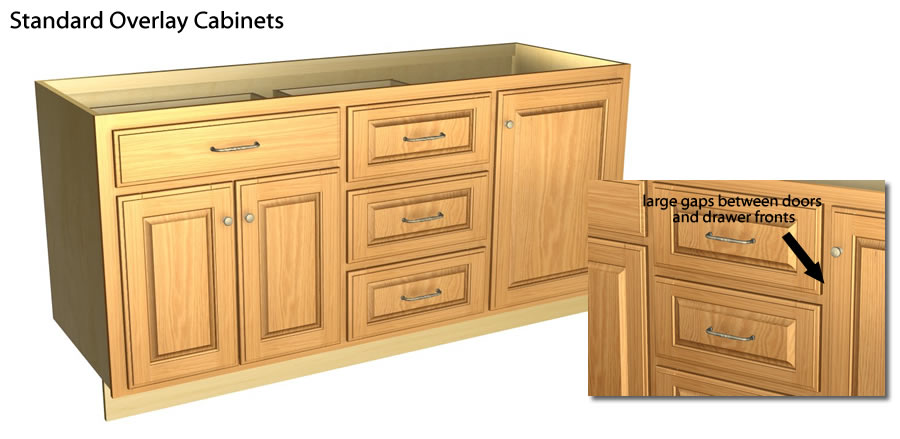
Let get started. Here is a picture showing a standard
overlay red oak cabinet with "partial" overlay doors. This is
probably similar to what you are working with as they made a ton of cabinets
out of Red Oak with partial overlays in the 80s and 90s.
Take the doors and
drawer fronts off the cabinet and toss them in the garbage can! They are gone for
good and will not be needed, as they will only be a reminder of the 1980's.
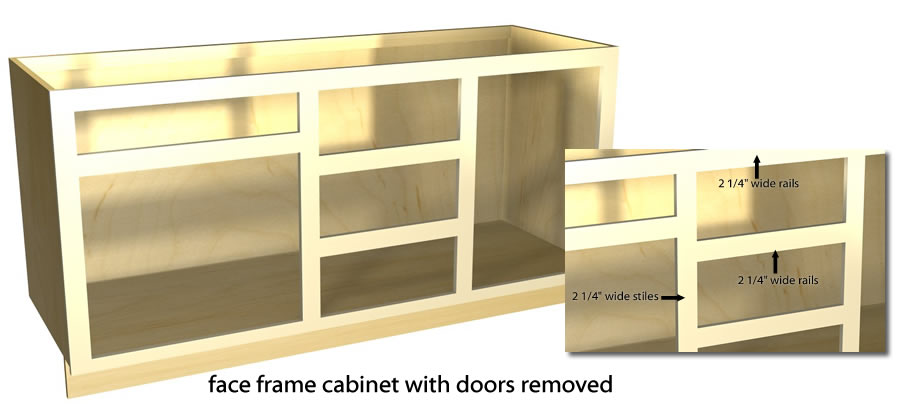
Next , you will measure the openings (hole in the face of the cabinet, measure
from the inside edges of the face frames) of the cabinets. Record each opening
size on a spreadsheet or sheet of paper. Next, measure the width of the stiles
and rails. The stiles are the part of the face frame that runs vertically, the
rails are the part of the face frame that runs horizontally. In this example
the stile and rail widths are 2 1/4" wide.
Once
you have recorded
this information, it is time to determine the size of the cabinet doors and
drawer fronts.
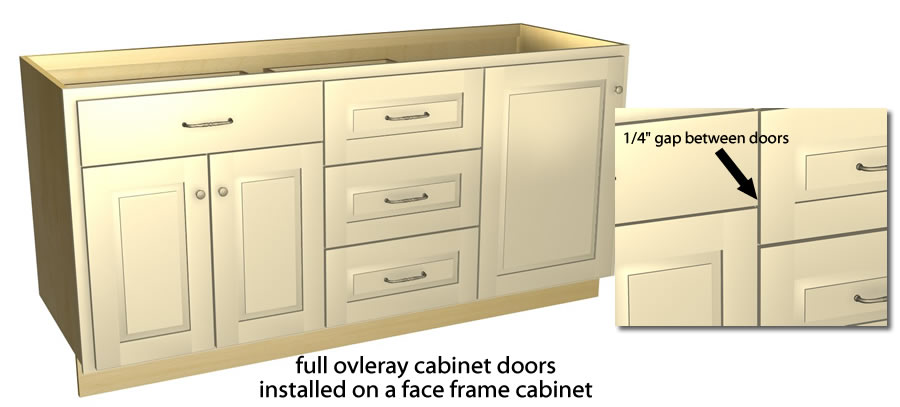
We want the doors and
drawer fronts to cover as much of the face frame as possible for a nice clean look,
but we have to be careful to not have the doors overlapping or rubbing on the
ones next to it. We need to leave a 1/4" reveal (gap between doors and
drawer fronts) to ensure that they open and close properly.
Take the width of a rail in the middle of the cabinet. My
example cabinet has a 2 1/4" wide rail. Take this 2 1/4" wide rail
and subtract 1/4" to account for the reveal needed between the doors and
drawer fronts.
This gives us about
2" of rail that we can cover with doors and drawer fronts. Divide this
2" of coverable space by two (we divide by two because there will be a
door/drawer front covering the top portion of the rail and another door/drawer
front covering the bottom portion of the rail) which gives us 1". This
1" is how much the doors/drawer fronts will overlay the face frame
surrounding their respective openings.
Now that you know the overlay needed, you can find a hinge that
will work with the desired overlay. We carry lots of different options for
various overlay hinges, including the 1" overlay hinge. See this link and
scroll down until you find the 1" overlay hinge.
The 1" overlay hinge will have its own tutorial on how
to measure the exact size door/drawer front for each opening. Follow that
tutorial and you will have the door sizes that you can submit into the website
here:
As a little bonus, I have drawn in the doors on our sample
cabinet. Notice how the 1/4" reveal allows the doors to cover most of the
face of the cabinet giving it a nice updated look.
Notes:
Make sure you have at least 1/4" reveal (gap between
doors). If you go less than 1/4", then you may run into problems with the
operation of the doors.
Some cabinets may have stile and rail widths that vary from
one part of the cabinet to another. Custom cabinet makers will change their
standards from time to time to maximize the space inside the cabinets.
If a stile or rail width is different than
the balance on the cabinet, then you will need to modify the size of the
door/drawer front to ensure they will not overlap and cause issues. Keep in
mind that if the overlay changes on the hinge side of the cabinet opening, then
you will need to change the hinge for that door.
Check your measurements three times before ordering to
ensure there are no overlapping of the doors and drawer fronts.
Written by Chad Barker
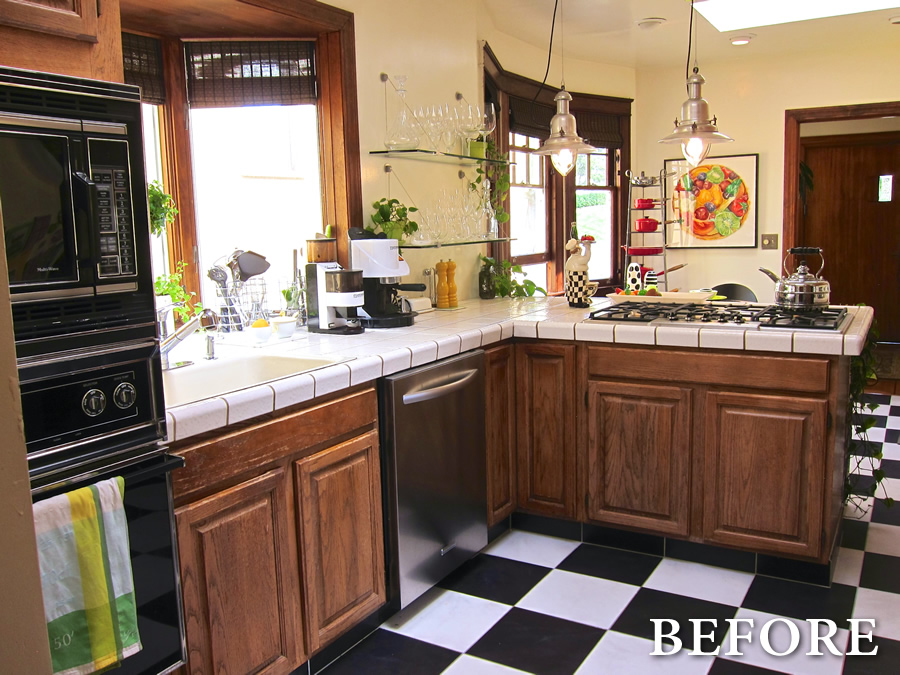
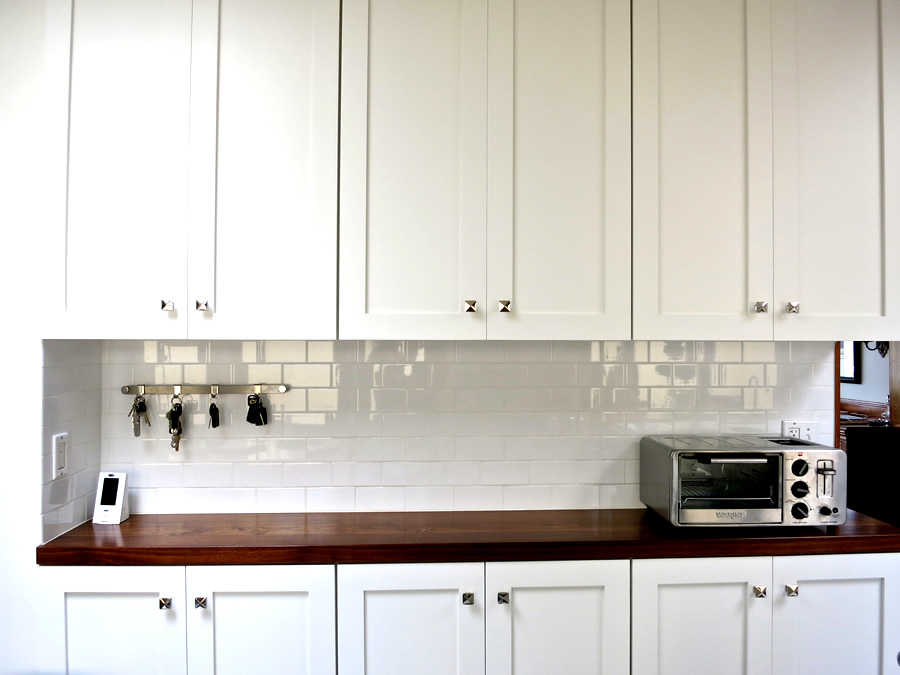
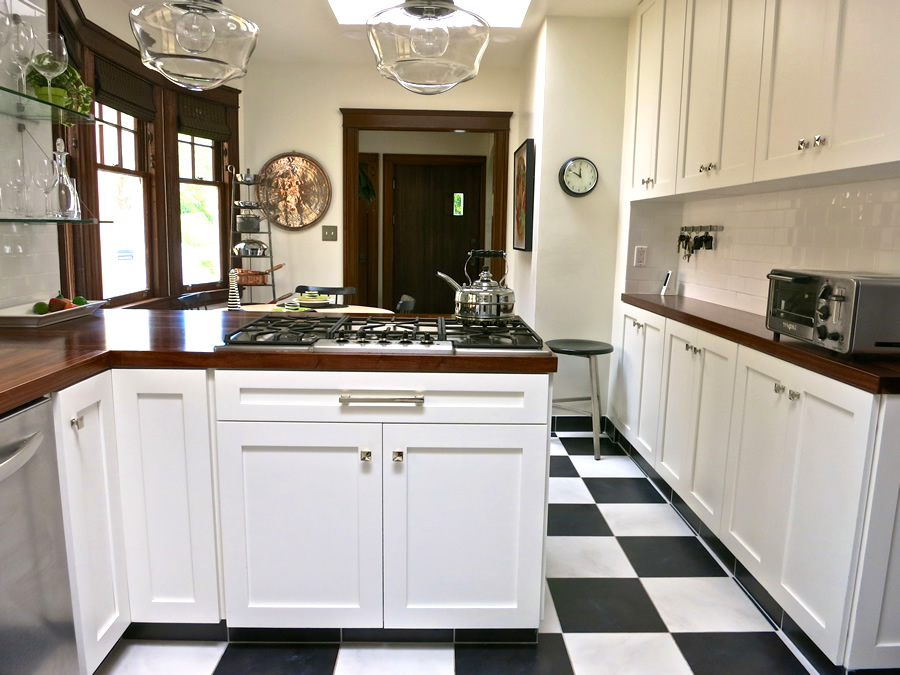
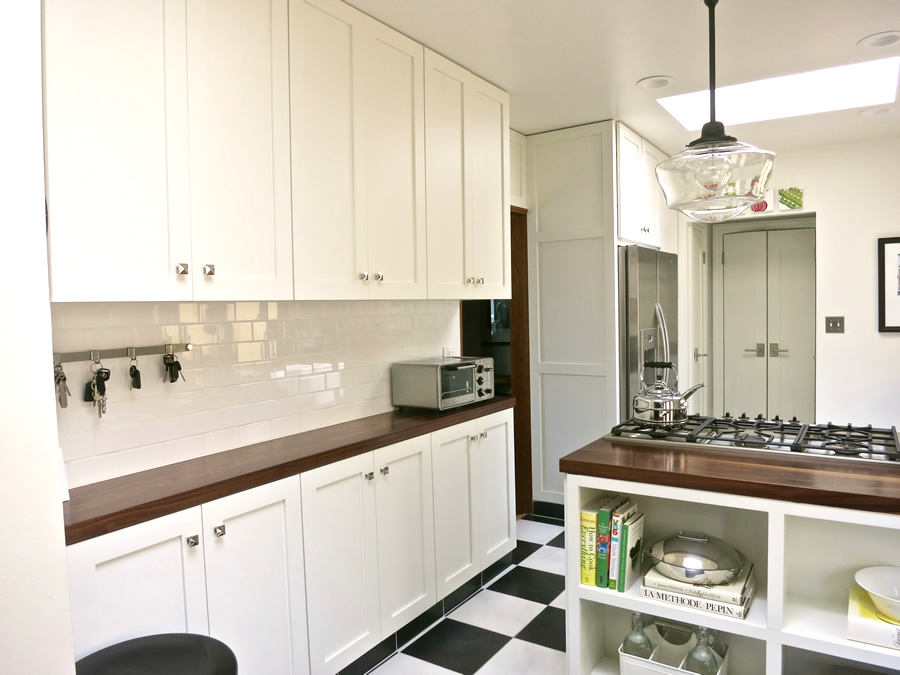
Here are some pictures of past projects that used this technique: